4.11. Flask-Security Tutorial#
Implementing this manually is both time-consuming and risky. It is very easy to make mistakes that create vulnerabilities. To solve this, we can use existing and well tested software to implement security features for us.
In the case of flask, we can use the Flask-Security library which provides a suite of authentication and authorisation tools for us to use.
Flask-Security integrates with Flask-SQLAlchemy and other Flask extensions to provide a complete security solution.
4.11.1. Key Features of Flask-Security#
User authentication (login/logout)
User registration
Account locking and password recovery
Password hashing and salting for secure storage
Role and Permission management
Session and token-based authentication
Multi-factor authentication (MFA)
4.11.2. Documentation#
You can find the documentation here https://flask-security-too.readthedocs.io/en/stable/.
Demo: Flask-Security Basics
This Flask app demonstrates user authentication using Flask-Security. It sets up a user database, creates a test user, and restricts access to the home page so that only authenticated users can see it.
The page should only allow users to log in with the following credentials:
username: test@me.com password: password
Setup
Database Setup
db = SQLAlchemy(app)            # Create database connection object
fsqla.FsModels.set_db_info(db)  # Define models
SQLAlchemy(app)initializes the database connection.fsqla.FsModels.set_db_info(db)allows Flask-Security to automatically create the required user and role models.
Users and Roles
class Role(db.Model, fsqla.FsRoleMixin):
    pass

class User(db.Model, fsqla.FsUserMixin):
    pass
The
Usermodel represents registered users.The
Rolemodel represents roles (e.g., admin, editor, user).FsUserMixinandFsRoleMixinautomatically add authentication fields like email, password, and active status.
user_datastore = SQLAlchemyUserDatastore(db, User, Role)
security = Security(app, user_datastore)
SQLAlchemyUserDatastoretells Flask-Security which database object to use and which classes to use for the users and roles.Security(app, user_datastore)activates Flask-Security, enabling login, logout, and user management.
Creating a Test User
with app.app_context():
    db.create_all()
    if not security.datastore.find_user(email="test@me.com"):
        security.datastore.create_user(
            username="Test User",
            email="test@me.com",
            password=hash_password("password"),
        )
    db.session.commit()
db.create_all()creates the user and role tables in the database.security.datastore.find_user(email="test@me.com")checks if the test user already exists.security.datastore.create_user(...)creates a new user (test@me.com) with the password"password".hash_password("password")hashes the password before storing it.
Note
The password generated by hash_password is salted by default. The salt is stored in the password field by appending it to the hashed password, eliminating the need for a salt field in the database.
Authentication and Authorisation
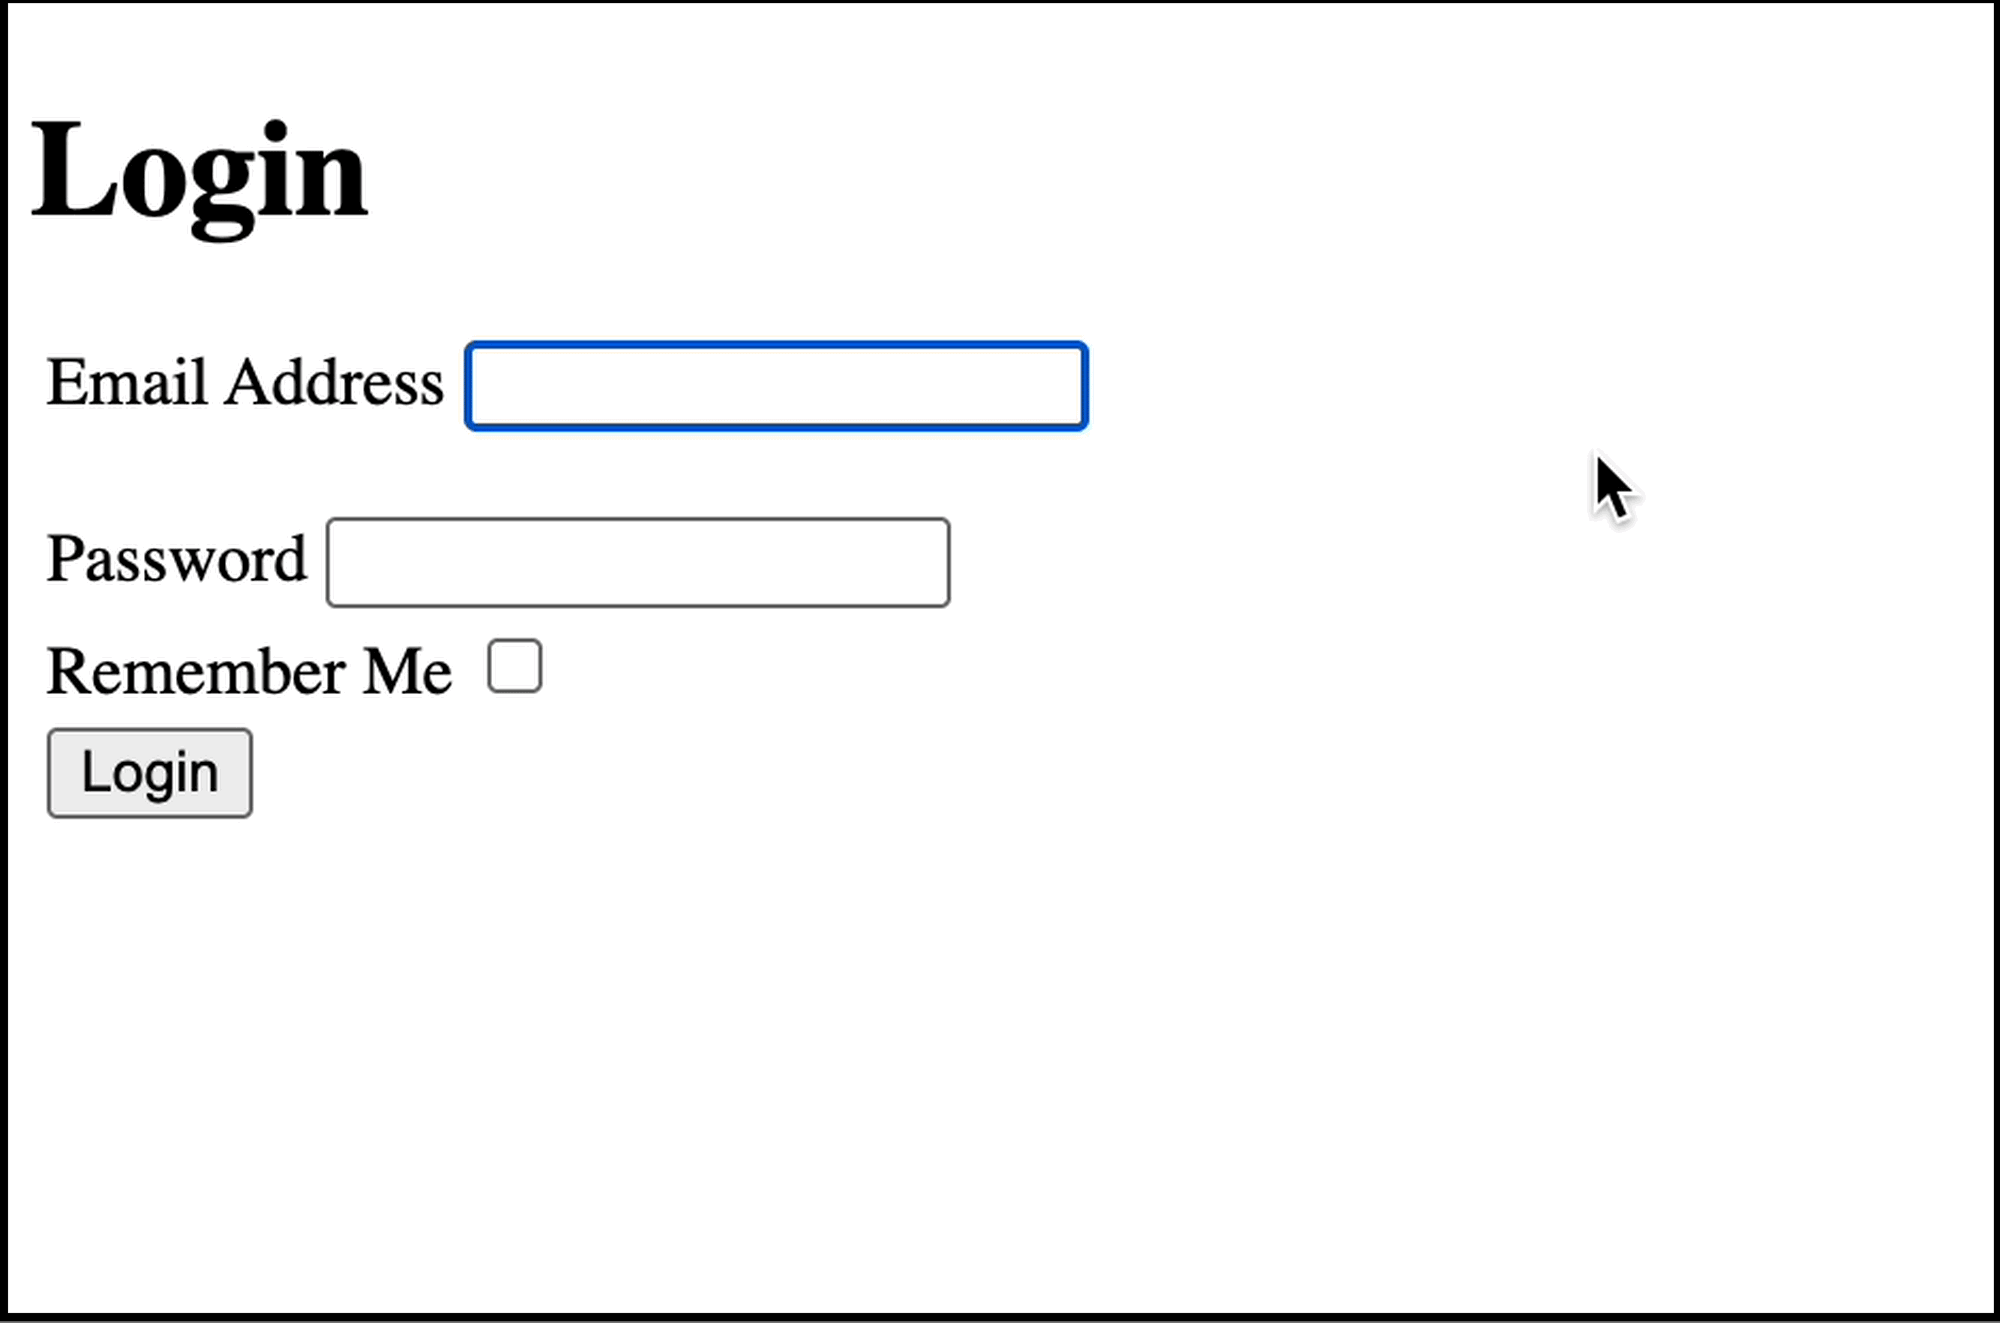
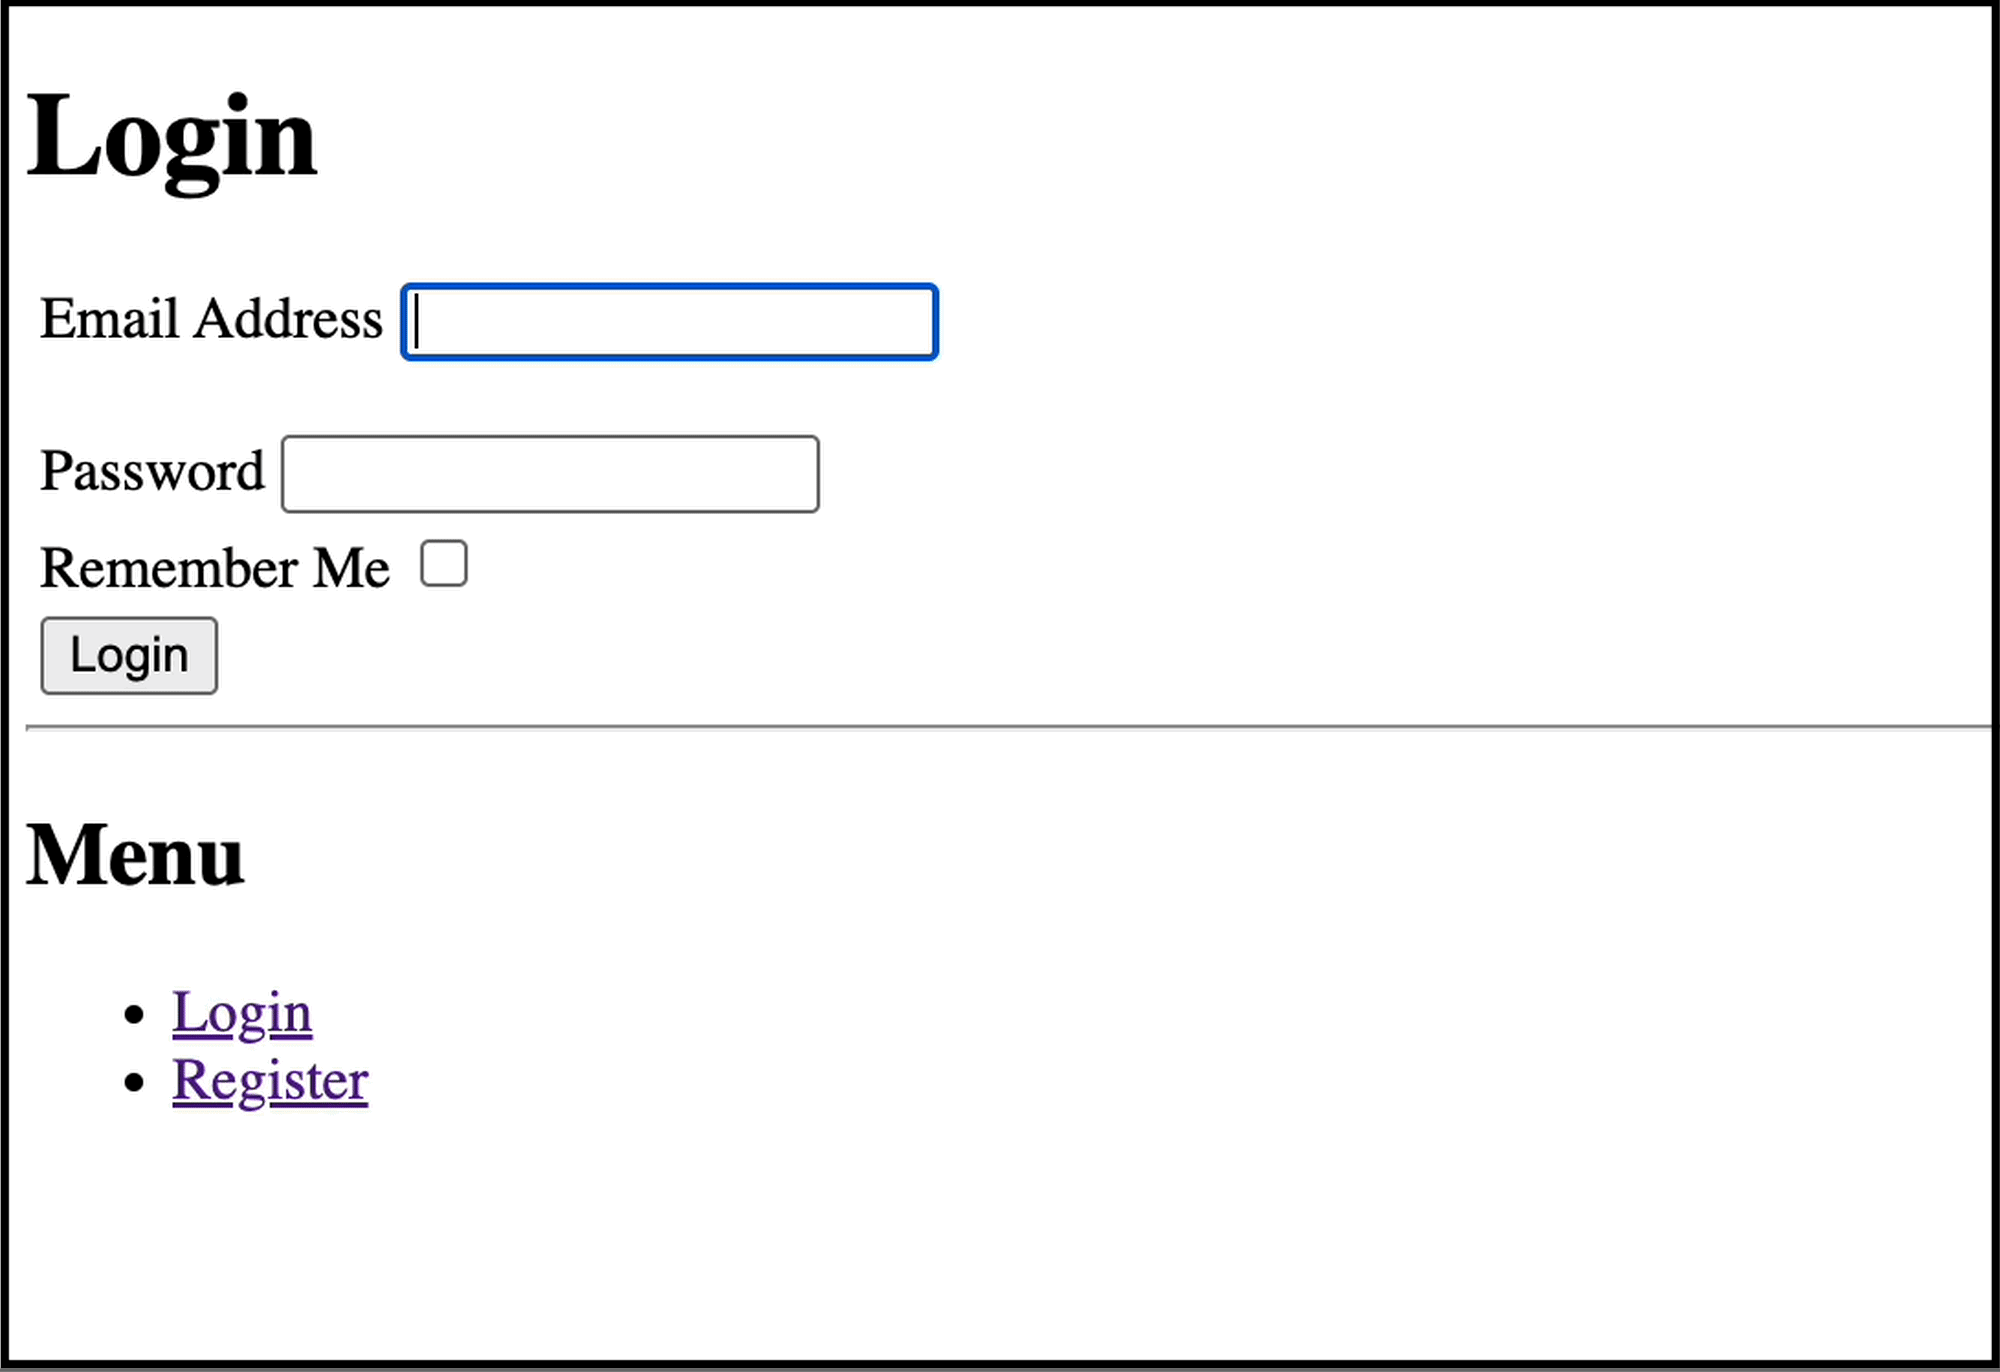
Flask-Security comes with routes and templates built in for user login. You don’t need to write these yourself, however you can customise the templates if you like.
The @auth_required() decorator on a route will:
check if the user is logged in or not
if user is logged in the route function will run as normal
if user is not logged in then:
the user will be redirected to the login page at /login
after the user successfully logs in they will be redirected to the originally requested page
@app.route("/")
@auth_required()
def home():
    return render_template_string("Hello {{ current_user.username }} ({{ current_user.email }})")
This index (homepage) route function is protected by @auth_required().
import os
from flask import Flask, render_template_string
from flask_sqlalchemy import SQLAlchemy
from flask_security import Security, SQLAlchemyUserDatastore, auth_required, hash_password
from flask_security.models import fsqla_v3 as fsqla

# Create app and set configuration parameters
app = Flask(__name__)
app.config["DEBUG"] = True
app.config["SECRET_KEY"] = "secretkey"
app.config["SECURITY_PASSWORD_SALT"] = "146585145368132386173505678016728509634"
app.config["SQLALCHEMY_DATABASE_URI"] = "sqlite:///database.db"

# Database setup
db = SQLAlchemy(app)  # Create database connection object
fsqla.FsModels.set_db_info(db)  # Define models

class Role(db.Model, fsqla.FsRoleMixin):
    pass

class User(db.Model, fsqla.FsUserMixin):
    pass

# Setup Flask-Security
user_datastore = SQLAlchemyUserDatastore(db, User, Role)
security = Security(app, user_datastore)

# Create test user
with app.app_context():
    # Create User to test with
    db.create_all()
    if not security.datastore.find_user(email="test@me.com"):
        security.datastore.create_user(
            username="Test User",
            email="test@me.com",
            password=hash_password("password"),
        )
    db.session.commit()

# Views
@app.route("/")
@auth_required()
def home():
    return render_template_string("Hello {{ current_user.username }} ({{ current_user.email }})")

app.run(debug=True, reloader_type="stat", port=5000)
Demo: User Registration with Flask-Security
Note
This Flask app adds user registration and a dashboard page for logged-in users.
We’ve removed the default test user because you can run the app and register a user yourself.
Enabling Registration
app.config["SECURITY_REGISTERABLE"] = True  # Allows users to register
app.config["SECURITY_SEND_REGISTER_EMAIL"] = False  # Disable email confirmation for now
"SECURITY_REGISTERABLE"enables the/registerroute for user registration"SECURITY_SEND_REGISTER_EMAIL"disables emailing a confirmation email
Index Page
@app.route("/")
@auth_required()
def dashboard():
    return render_template("dashboard.html")
If the user is logged in the user is shown the dashboard
Otherwise, the user is redirected to the login/register page
Download and run the tutorial.
Demo: User Access with Flask-Security
Note
This Flask app adds a simple diary entry system. Each user can create diary entries and view their own entries. Users are not permitted to view other user’s diary entries.
Note
Test the app by creating two users with diary entries for each. Note down the id of diary entries and try to access the diary entry at /entry/int:entry_id from each respective user.
Setup
class DiaryEntry(db.Model):
    id = db.Column(db.Integer, primary_key=True)
    content = db.Column(db.String(280), nullable=False)  # Limit to 280 characters (tweet length)
    timestamp = db.Column(db.DateTime, default=datetime.utcnow)
    user_id = db.Column(db.Integer, db.ForeignKey("user.id"), nullable=False)
    user = db.relationship("User", backref="entries")
This model represents each diary entry.
The
user_idattribute creates a column in the database to associate each diary entry with a single userThe
userattribute creates a Python attribute in the model object that allows us to access theUserobject through aDiaryEntrye.g.entry.user.
Dashboard
@app.route("/")
@auth_required()
def dashboard():
    entries = DiaryEntry.query.filter_by(user_id=current_user.id).order_by(DiaryEntry.timestamp.desc()).all()
    return render_template("dashboard.html", entries=entries)
The dashboard route queries the database for entries belonging to the currently logged in user.
The entries are then rendered into the dashboard template.
New Entries
new_entry = DiaryEntry(content=content, user_id=current_user.id)
db.session.add(new_entry)
db.session.commit()
When creating a new entry the currently logged in user
idis associated to the entry
Viewing Entries
@app.route("/entry/<int:entry_id>")
@auth_required()
def view_entry(entry_id):
    entry = DiaryEntry.query.get_or_404(entry_id)

    # Ensure only the owner can view their entry
    if entry.user_id != current_user.id:
        return "Access Denied", 403

    return render_template("entry.html", entry=entry)
The entry route is restricted to logged in users
Inside the route, the user id is checked against the user associated to the diary entry
If the user doesn’t match they are shown a 403 error
If the user matches they are shown the entry
Download and run the tutorial.
Demo: Role Access with Flask-Security
This Flask app extends the diary system by adding two roles: “Writer” and “Admin”. The app creates test users for both roles.
The writers have permission to:
View their own entries
Create new entries
The admins have permissions to:
View entries from all users
Edit entries from all users
Delete entries from all users.
The database has been populated with the users
admin@example.comwith passwordadminpasswriter@example.comwith passwordwriterpass

Note
Test the app by logging in as the writer user first and creating some entries. Then login as the admin to edit or delete entries.
Creating Roles
During setup of the app, we create the necessary roles if they do not exist in the database already
# Ensure roles exist
for role_name in ["Writer", "Admin"]:
    if not Role.query.filter_by(name=role_name).first():
        db.session.add(Role(name=role_name))
db.session.commit()
Enforcing Role Permissions
To enforce role permissions we have used the @roles_required() decorator.
For example editing an entry requires the “Admin” role
# Edit a Diary Entry (Only Admins)
@app.route("/edit_entry/<int:entry_id>", methods=["GET", "POST"])
@auth_required()
@roles_required("Admin")
def edit_entry(entry_id):
    entry = DiaryEntry.query.get_or_404(entry_id)

    if request.method == "POST":
        entry.content = request.form["content"]
        db.session.commit()
        return redirect(url_for("dashboard"))

    return render_template("edit_entry.html", entry=entry)
Download and run the tutorial.